Essay
Streamlining CI/CD with GitHub Actions and EC2
A comprehensive guide to setting up CI/CD pipelines using GitHub Actions and EC2 for automated deployment workflows.
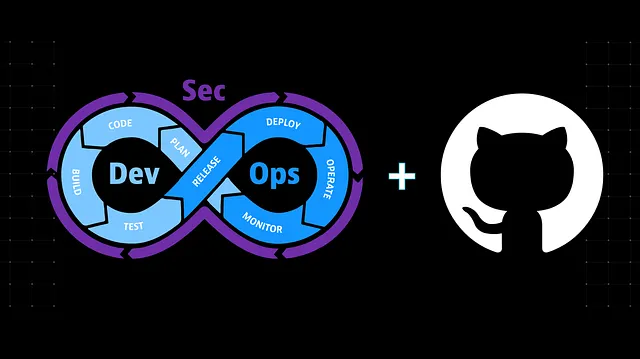
Introduction
Continuous Integration and Continuous Deployment (CI/CD) are crucial practices in modern software development workflows. They help automate the process of building, testing, and deploying applications, reducing manual effort and ensuring faster and more reliable releases. In this blog post, we will explore how to set up CI/CD using GitHub Actions and EC2 (Elastic Compute Cloud) to streamline your development process.
Prerequisites
Before diving into the setup process, make sure you have the following prerequisites:
- An EC2 instance running Linux or Ubuntu
- Node.js and npm are installed on the EC2 instance
- Nginx, PM2, or Forever (process managers) are installed on the EC2 instance
Step 1: Creating Directories on EC2
To organize your project, create two directories on your EC2 instance: one for the backend and one for the frontend. You can choose appropriate names for these directories based on your project structure.
# Create directories for your project
mkdir -p /var/www/backend
mkdir -p /var/www/frontend
Step 2: Setting up GitHub Actions in the Repositories
Navigate to each of your backend and frontend repositories on GitHub. Follow these steps for each repository:
- Go to the "Actions" tab
- Choose "Node.js" as the template for your workflow
- GitHub will generate a YAML file for the workflow
- Click on "Start Commit" to add this file to your repository
Step 3: Configuring Self-Hosted Runners
To enable self-hosted runners on your EC2 instance, follow these steps for each of the frontend and backend directories:
- Go to the "Actions" tab of your repository
- Under the "Runners" section, click on "Create self-hosted runner"
- Select "Linux" as the runner type
- You will see a series of commands. Copy and paste each command into the terminal of your EC2 instance in the respective frontend and backend directories
- These commands will install and configure the GitHub Actions runner
Once the runner is successfully installed, it will be registered with your repository, and you can start leveraging it for your CI/CD pipeline.
Example Workflow Configuration
Here's a basic example of what your GitHub Actions workflow might look like:
name: CI/CD Pipeline

on:
  push:
    branches: [ main ]
  pull_request:
    branches: [ main ]

jobs:
  build-and-deploy:
    runs-on: self-hosted

    steps:
    - name: Checkout code
      uses: actions/checkout@v3

    - name: Setup Node.js
      uses: actions/setup-node@v3
      with:
        node-version: '18'

    - name: Install dependencies
      run: npm install

    - name: Run tests
      run: npm test

    - name: Build application
      run: npm run build

    - name: Deploy to EC2
      run: |
        # Your deployment commands here
        pm2 restart app
        nginx -s reload
Benefits of This Setup
- Automated Testing: Every push triggers automated testing
- Consistent Deployments: Eliminates manual deployment errors
- Faster Releases: Automated processes reduce deployment time
- Better Collaboration: Team members can deploy with confidence
- Scalability: Easy to add more runners as your team grows
Conclusion
By combining the power of GitHub Actions and EC2, you can streamline your CI/CD workflow and automate the building, testing, and deployment processes. This setup allows you to take advantage of the scalability and flexibility provided by EC2, while GitHub Actions simplifies the configuration and execution of your CI/CD pipelines.
With the self-hosted runners running on your EC2 instance, you can trigger workflows on each push, pull request, or any other specified event, ensuring that your code is thoroughly tested and deployed automatically.
By following the steps outlined in this blog post, you can quickly get started with CI/CD using GitHub Actions and EC2, improving the efficiency and reliability of your software development process.
Happy automating! 🚀